Launching a paid ads campaign without proper preparation is like flying a plane without checking the instruments. Even experienced marketers sometimes skip essential steps and end up wasting time and money. A structured pre-launch checklist ensures that every element of your campaign — from tracking setup to creative alignment — is ready to deliver results. In 2025, with digital advertising becoming increasingly data-driven and competitive, having a detailed checklist is not optional; it’s a crucial part of every successful campaign.
Why a Pre-Launch Checklist Matters
Every ad platform uses complex algorithms to determine how your campaign performs. Even small errors — like missing tracking codes or poor targeting — can distort your data and lead to poor optimization. By running through a checklist before launching, you minimize risk, ensure accuracy, and give your campaign the best chance to succeed from day one.
A proper checklist also provides structure and consistency across campaigns. Whether you manage ads for clients, an agency, or your own business, having a repeatable process helps maintain quality and confidence in your results.
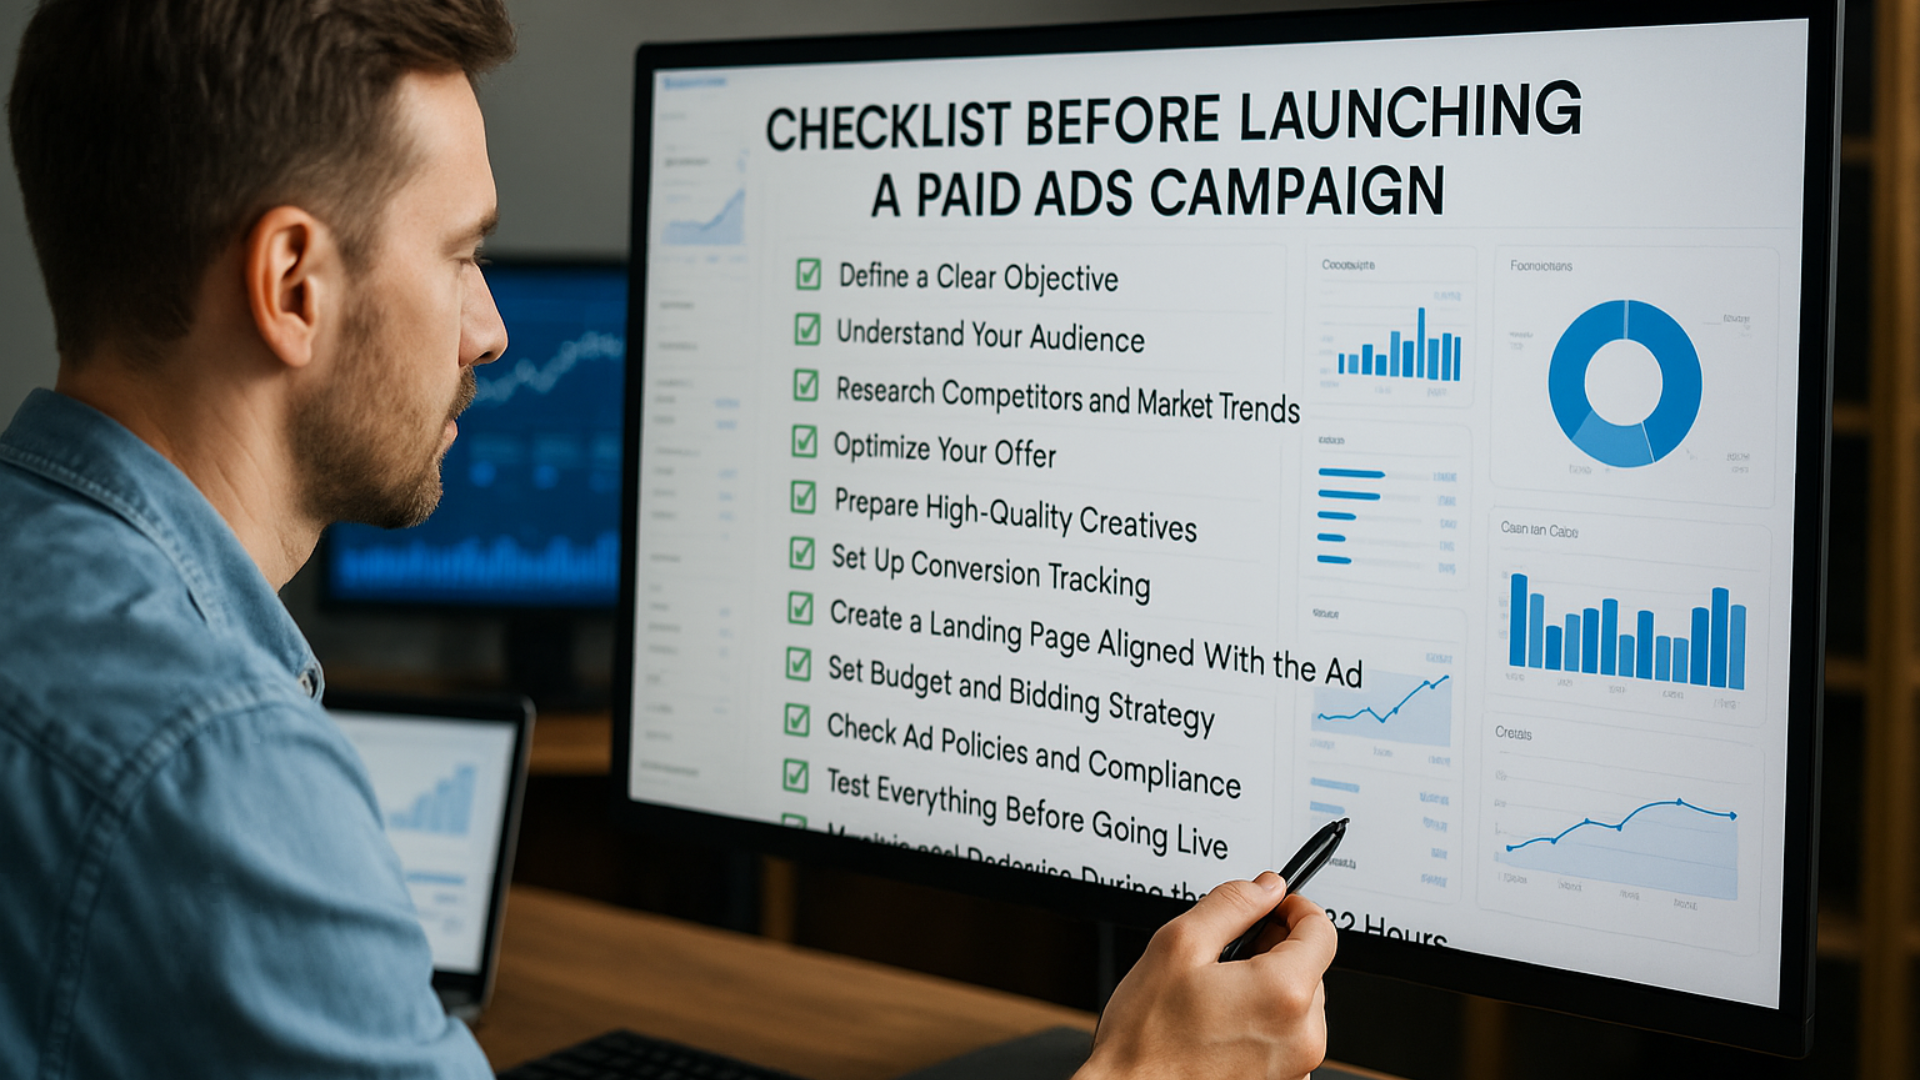
Step 1: Define a Clear Objective
Every successful campaign begins with a well-defined goal. Are you aiming for brand awareness, lead generation, product sales, or app installs? The objective you choose determines everything — from ad type and creative to bidding strategy.
For example:
- Awareness campaigns focus on impressions and reach.
- Consideration campaigns prioritize engagement or traffic.
- Conversion campaigns optimize for specific actions like purchases or sign-ups.
Choosing the right campaign objective ensures that the platform’s algorithm optimizes toward the right result.
Step 2: Understand Your Audience
Before creating your ads, you need to know exactly who you want to reach. Identify demographics, interests, and behaviors that align with your offer. Use data from previous campaigns, CRM records, or website analytics to build accurate customer personas.
Ask yourself:
- What problems does my audience face?
- What motivates them to act?
- Which platforms do they spend time on?
Creating detailed audience segments allows for more precise targeting, resulting in higher engagement and better conversion rates.
Step 3: Research Competitors and Market Trends
Before launching, study what your competitors are doing. Analyze their creatives, offers, and messaging. Tools like Meta Ad Library, SEMrush, and SpyFu can help you see which ads perform well in your niche.
Ask questions such as:
- What angles or messages are competitors using?
- What visuals seem to attract engagement?
- What can I do differently to stand out?
Learning from the market helps you position your ads strategically instead of starting from scratch.
Step 4: Optimize Your Offer
Your offer is the heart of your campaign. Even the most sophisticated targeting and beautiful design won’t save an unappealing offer. A strong offer should solve a specific problem and create urgency.
Elements of a great offer include:
- Clear value proposition (“Save time, money, or effort”).
- Limited-time incentive (discount, bonus, or exclusive access).
- Simplicity — users should understand it instantly.
Test variations of your offer before launching your main campaign. A/B testing at the offer level can dramatically increase performance.
Step 5: Prepare High-Quality Creatives
Creatives — your visuals, videos, and ad copy — are what capture attention and trigger action. Each piece should align with your audience’s preferences and your campaign goal.
Checklist for creatives:
- Use high-resolution images or videos optimized for platform specifications.
- Write concise, persuasive ad copy that highlights benefits, not just features.
- Include a clear, action-oriented CTA.
- Maintain brand consistency across all visuals.
For video ads, ensure the first three seconds grab attention. Use captions for accessibility and optimize formats for vertical viewing on mobile devices.
Step 6: Set Up Conversion Tracking
Without proper tracking, you can’t measure success accurately. Before launching, double-check that all tracking pixels, tags, and analytics codes are correctly installed.
For example:
- Meta Ads: Verify the Meta Pixel and Conversions API (CAPI) are functioning.
- Google Ads: Confirm that Google Tag and conversion actions are firing properly.
- TikTok Ads: Test the TikTok Pixel and Event API setup.
Use tools like Meta Pixel Helper or Google Tag Assistant to ensure data is being sent correctly. Also, define your conversion events (e.g., add-to-cart, purchase, lead submission) so algorithms can optimize efficiently.
Step 7: Create a Landing Page Aligned With the Ad
A great ad brings users to a great landing page — and both must tell the same story. Mismatch between the ad promise and the landing page content causes high bounce rates and lost conversions.
Before launching:
- Verify that the landing page loads quickly (under three seconds).
- Ensure it’s mobile-friendly and responsive.
- Match the ad headline and message to the landing page.
- Include social proof (reviews, testimonials).
- Use a clear CTA button above the fold.
A cohesive user experience from ad to conversion point builds trust and improves performance.
Step 8: Set Budget and Bidding Strategy
Budget planning determines how much data your campaign can collect. Start with a daily budget that allows at least 50 conversions per week for algorithm learning (if possible).
Choose a bidding strategy that matches your goals:
- Lowest cost: Maximizes results for your budget.
- Cost cap: Maintains CPA control.
- Bid cap: Gives tighter control for experienced managers.
Avoid frequent budget changes during the learning phase; let campaigns stabilize before making adjustments.
Step 9: Check Ad Policies and Compliance
Before launching, review the platform’s ad policies to ensure your campaign won’t be rejected or restricted. Meta, Google, and TikTok each have strict rules about claims, language, and imagery.
Key points:
- Avoid exaggerated promises (“Guaranteed results”).
- Use compliant language, especially for health or financial products.
- Ensure images follow community guidelines.
- Include privacy and data consent where required.
Staying compliant prevents account issues and ensures smooth approval.
Step 10: Test Everything Before Going Live
Run a complete test before officially launching your ads. Check for:
- Correct links (no 404 errors).
- Tracking pixels firing properly.
- Ad previews appearing correctly on desktop and mobile.
- Proper placement selection (Feeds, Stories, Reels, etc.).
- Consistent branding across all creatives.
A small pre-launch test with limited budget helps catch technical or creative issues before scaling.
Step 11: Monitor and Optimize During the First 72 Hours
The first few days after launch are critical for performance learning. Monitor metrics like CTR, CPC, and early conversion signals. Avoid making drastic changes during the learning phase, but be ready to pause underperforming creatives or fix clear technical problems.
Create a routine for daily monitoring and document all early findings. Once the campaign exits the learning phase, you can begin making informed optimizations.
Turning Preparation Into Profit
The best-paid traffic managers know that campaign success happens long before the first click. By following a thorough pre-launch checklist, you ensure every detail — from audience insights to technical setup — works together toward a common goal.
Preparation reduces wasted budget, improves campaign accuracy, and builds confidence in your results. In digital marketing, attention to detail isn’t optional; it’s what separates average advertisers from professionals.